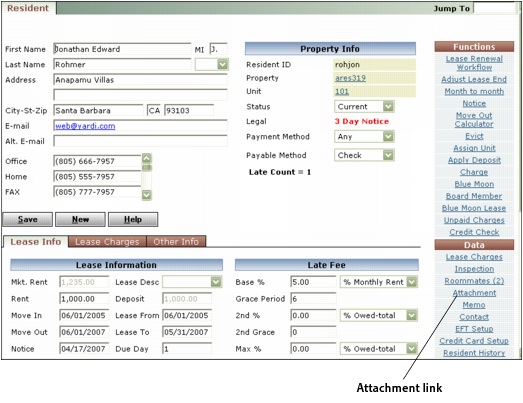
This procedure describes how to upload an attachment. This process also adds the attachment to a Voyager record. You can add an attachment to any record with an Attachment link in the Functions or Data menu.
When you upload an attachment, Voyager copies the file to the Attachments Path specified in the Accounts & Options screen and associates the attachment with the active record. An uploaded attachment can be associated with only one record. If you detach the attachment from the record, the file remains on the server and can be added to another record or added back to the same record.
|
2
|

|
3
|
|
4
|
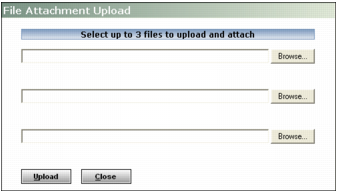
Click a Browse buttons. The Windows Choose file dialog box appears. Follow standard Windows procedures to locate and select the file.
|
|
5
|
Click Open. The Choose file dialog box closes and the file name appears in the Attachment Upload screen.
|
|
6
|
If you want to upload additional attachments, repeat steps 4 and 5. You can upload up to three files at a time.
|
|
7
|
In the File Attachment Upload screen, click Upload. Voyager copies the files to the appropriate location and displays a confirmation message. If a problem occurs with the upload, Voyager displays an error message.
|
|
8
|
|
9
|
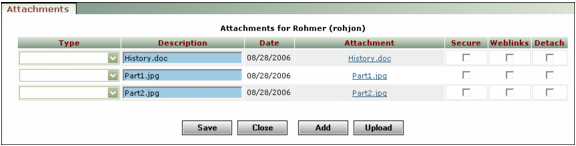
Select a type from the Type field for each attachment. Types are used to classify attachments.
|
Types are set up by the system administrator. For more information, see “Attachments Security and Type Lists” in the Voyager Core Installation and Administration Guide.
|
11
|
Secure Select this check box if you want to limit access to the attachment to users for whom the View secured attachments check box is selected in the User Security screen. This check box is available only if your security setting permits viewing of secured attachments.
Weblinks Select this check box to make the file available to Weblinks.
|
12
|
Click Save.
|
|
13
|
Click Close.
|