|
1
|
|
2
|
If you want to process all documents without editing or combining them, click Process All. The processed files appear in the Processed Documents box.
|
|
a
|
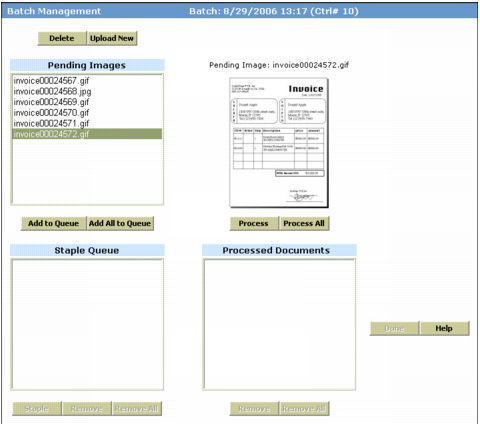
Select it in the Pending Images box. A thumbnail appears at right.
|
|
b
|
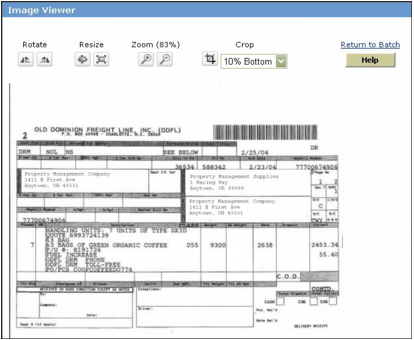
Click the thumbnail. The Image Viewer appears.
|
|
c
|
|
d
|
|
a
|
In the Pending Images box, select the documents you want to combine.
|
|
b
|
|
c
|
Click Staple. Voyager combines the documents into a single PDF file that appears in the Processed Documents box.
|
|
a
|
In the Pending Images box, select the documents you want to process.
|
|
b
|
Click Process.
|
|
a
|
In the Pending Images box, select the document you want to delete.
|
|
b
|
Click Delete. Voyager asks you to confirm deletion.
|
|
c
|
Click OK.
|
|
7
|
When all documents have been processed or deleted, click Done. Voyager asks for confirmation that you want to commit the batch.
|
|
8
|
Click OK. A confirmation message appears. The images are moved from a temporary folder to the property folder specified in the Document Manager screen, in the Attachments Temp Path specified in the Accounts & Options screen.
|
|
9
|
Click OK.
|